Last year was the year of the pantry. Stocking up was the new way to go.
And apart from pantries, I've seen a lot of back kitchens. Coffe stations appliances cupboards, larders, the rather ridiculous sounding butlers kitchen, suddenly we want everything hidden. Still, everyone loves Nancy Meyers kitchens, and if you look closely, all the mess is in full display. But I get it; it feels great when the kitchen is clean, and cleaning under the toaster, blender, or microwave is really annoying. And nobody ever cleans in a Nancy Meyers movie.
So long story short, I've been designing the second kitchen in our house. Why do we have two? Because before, the downstairs of the house was probably rented out to holidaymakers, and they needed their own.
So not a back kitchen, not a butlers pantry; not a larder, or any fancy names, just the downstairs kitchen.
And yes, here is where all the appliances will go.
I had both kitchens in the house demoed simultaneously and haven't figured out the upstairs kitchen yet, but there is where the stove will go. Divide and conquer—morning kitchen downstairs, dinner upstairs.
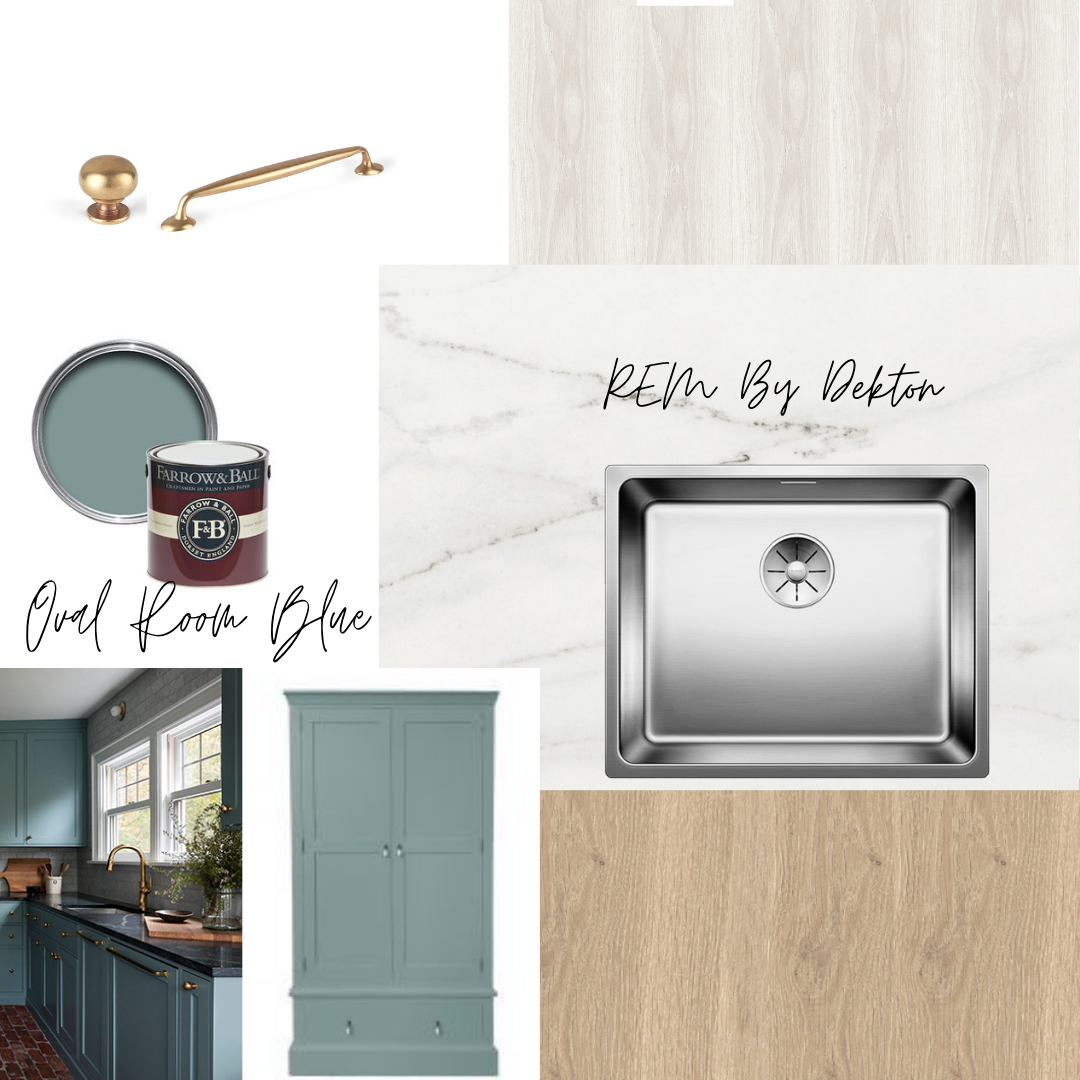
This one was on a budget, so I used Ikea cupboards and added Noremax fronts.
Several companies make replacement fronts for the Ikea kitchen, and I honestly googled Ikea replacement front/Farrow and Ball, and when the result gave me a company that will match Farrow and Ball colors, the choice was easy ( I have had some difficulty making choices lately, so when I am confident, I pounce, but that is a whole other story)
The process is easy, but you have to keep an eye on details; you begin by designing the kitchen in the Ikea planner. You then make a zoom appointment with a kitchen expert at Ikea, who checks that everything is doable. Then, because we demoed the room, someone from Ikea came over and measured the space, checking that everything was level. I had another zoom appointment and ordered the kitchen.
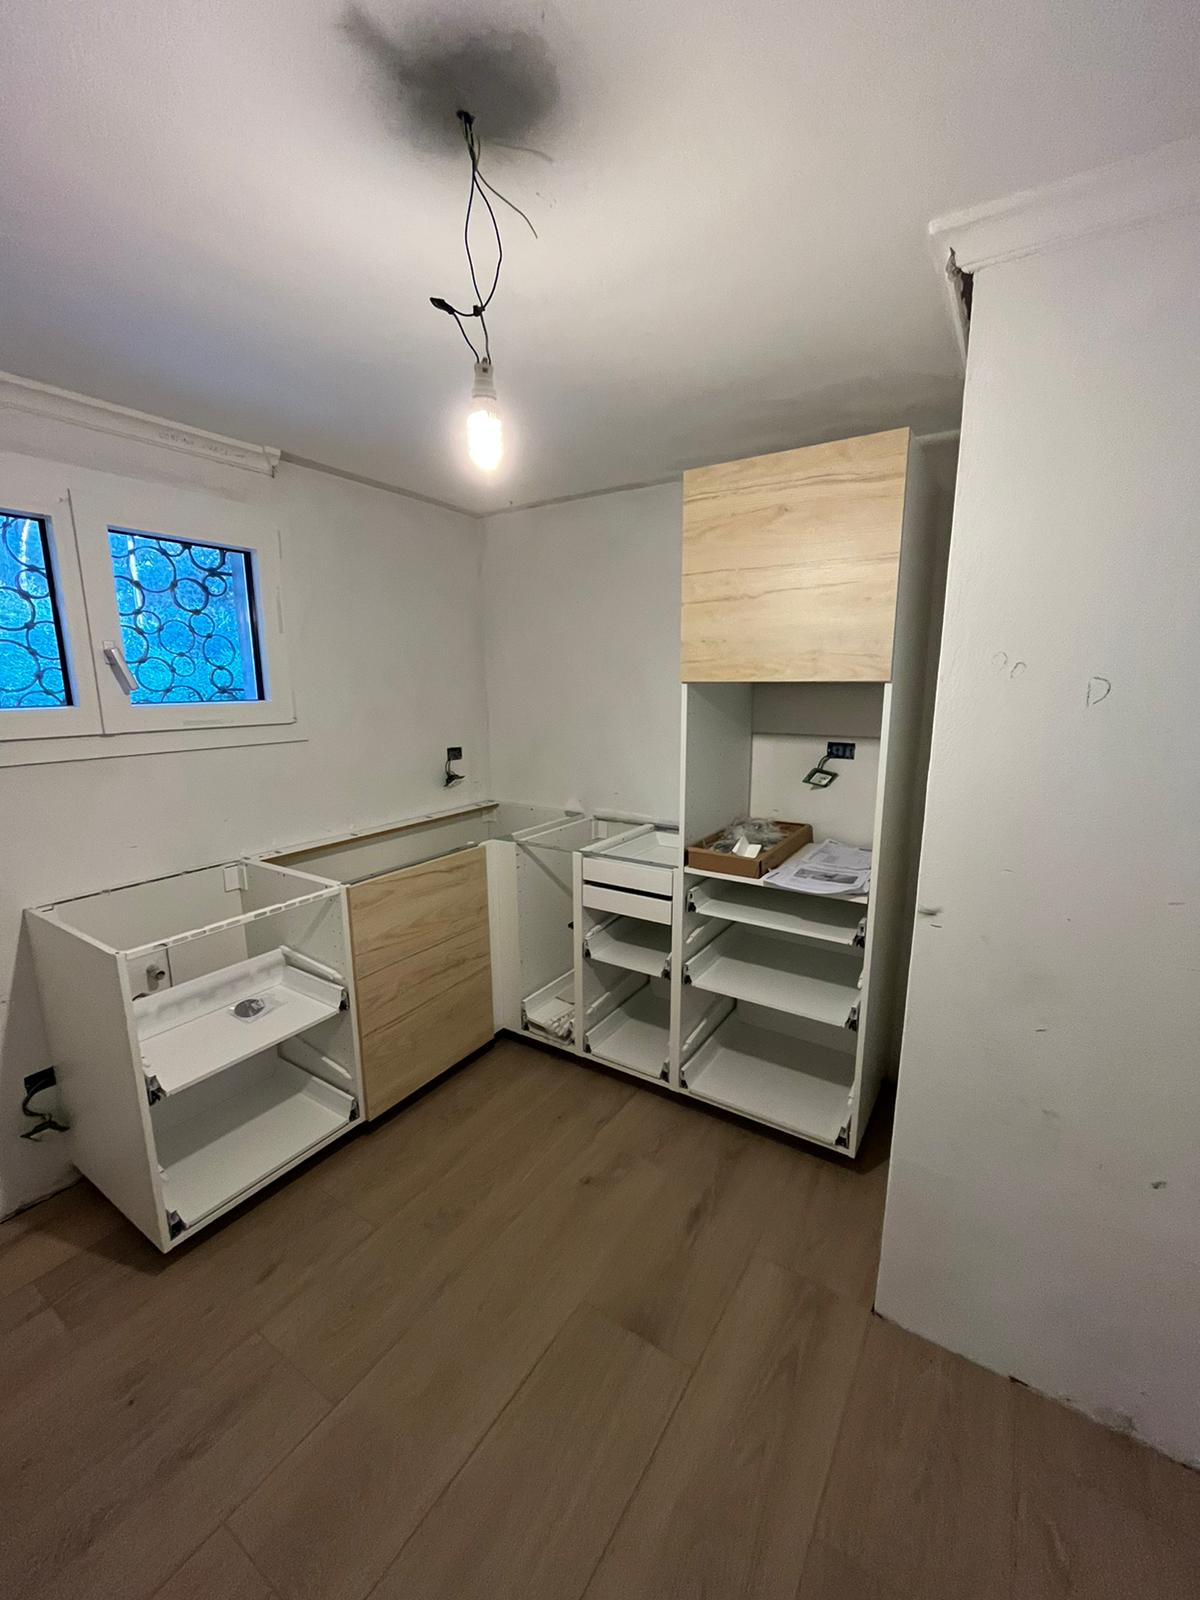
The structures arrived last Saturday; we also booked the installation; as you can see here, they installed it precisely as on the sketch.
A little before and middle, no after yet:
After the Ikea Installation. Because I was not sure they would include the hinges, I added two fronts for cupboards, and because I wasn't there, they installed those too. Those will be removed when the fronts arrive.
The process at Noremax is quite simple. You go through all the different font sizes and buy what you need. For that, I copied my design in the Ikea planner, this time adding fronts, so I could quickly check what was required; I wrote a list, went through the sizes at Noremax, and checked them off.
You buy the appliances where you want; I wanted to get some at Ikea, but they are not in stock, like everything these days, so I went with the ones I knew well from other houses, just making sure that they were the same size as the Ikea ones.
Like in our Dutch kitchen, we will use a Dekton top, and I am ordering it now at a "Marmista" in Italy. Easier said than done. My first one didn't have the equipment; to cut it for the washbasin I bought. But he was so nice to ask around and recommend another one. Let's see how the new one will work out.
It is a bit of a puzzle, and I hope that it will all fit together in the end. I still need to choose the faucet and knobs; I will do that this week. I am heavily leaning towards the gorgeous Armac Martin ones.
To be continued...


